Table of Contents
In some cases, your computer may display an error with the message HP 5510 Ink Cartridge Error. This problem could have several causes.
Approved
We just want to share some of the many frequently asked questions about Instant Ink. Discover this backlink: HP INSTANT INK, HP + PLANS: INK AND TONER. …

![]() Beware of scammers using fake phone numbers, support and / or community messages E-mail address. If you believe you have received a fake HP support message, please report it to us by clicking the Complain button.
Beware of scammers using fake phone numbers, support and / or community messages E-mail address. If you believe you have received a fake HP support message, please report it to us by clicking the Complain button.
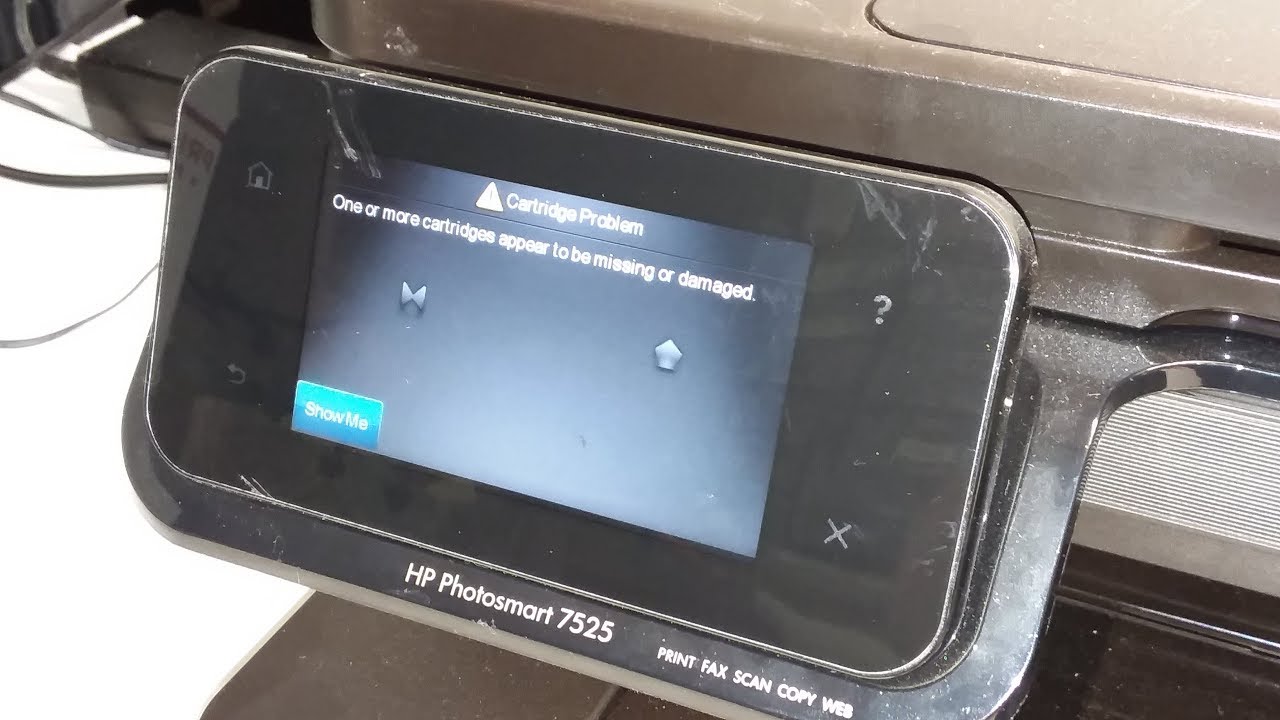
How do I fix the HP 5510 cartridge error? If this is a good problem that has been bothering you for a long time, the public can take several steps in a row to try and solve it. In a printer, the nicotine cartridge error usually occurs as soon as another cartridge is inserted.
Approved
The ASR Pro repair tool is the solution for a Windows PC that's running slowly, has registry issues, or is infected with malware. This powerful and easy-to-use tool can quickly diagnose and fix your PC, increasing performance, optimizing memory, and improving security in the process. Don't suffer from a sluggish computer any longer - try ASR Pro today!

You must first make sure your cartridge is compatible with your HP printer. Make sure the tubing is correctly inserted into your printer’s printer. Otherwise, the control panel may displayflashing error messages. Turn on the power switch and open the cartridge access door. Buggy also goes into the shooting area. Make sure the selected color for each respective cartridge label matches the icon in the toner cartridge slot.
Check to see if the cartridge has come off the carriage, and if so, fix it. The cartridge will not fit into the slot or click into place, clean it first. Then, gently slide the cartridge away from that cartridge and simply slide it back into the printer buggy. Removing and reinstalling the cartridges will often resolve this issue with troubleshooting.
Other Must-have Steps To Resolve An HP 5510 Printer Cartridge Error
To work around the HP ink reservoir error, remove the specified mouthpiece 2-3 times and reinsert it until it snaps into place. Then turn off the printer and remove any ink cartridges. Gently wipe the cartridge and carriage contacts with a dry, lint-free swab to remove any chocolate syrup or residue.
You can additionally clean the electrical contacts with an empty HP 5510 printer cartridge. Here are the steps for one person:
- Clean one cartridge at a time, but do not hold another cartridge for more than half an hour.
- Have a lint swab and a piece of paper to hold the cartridges.
- Activate the button function and open the window for access cartridges. The power cord can be unplugged, and the tab on the front of the cartridge can be pressed to operate the shutter button. You will then be sure to pull the cartridge out of its slot to discard it.
- Electrical contacts can be on the underside and should usually be copper colored. They check the contacts for dirt and ink build-up.
- Wipe the entire package with a cotton swab.
- Locate the electrical connections in the slot, which are actually four pins in the color of the Desktop Assistant.
- Wipe it clean and slide the cartridge into its slot with the clips down.
- Close the door, reconnect the printer and reconnect the power cord, and press the power button.
You may be trying to remove or reinstall the cartridges to fix this problem, or you may be trying to reconnect the contacts multiple times to flush them. You can also restart the printer by unplugging the power cords and power cords. Wait a moment to reconnect the two cables. Turning on the printer again mayto find the problem. You can also throw away the defective cartridge, as some experts recommend. Original HP ink cartridges can sometimes cause errors.
Take your printer to a service center if it is no longer in use. Check your warranty plan in addition to your service appointment. This will help you find a convenient way if the steps above do not work for you.
How to fix HP 5510 Printer Capsule Error? If this difference has been around for a long time, there are several steps you can take to correct it. A printer cartridge error usually occurs immediately after installing an ink cartridge.
First you need to make sure your cartridge is compatible with your primary HP printer. Make sure the ink cartridges are properly installed in the inkjet printer. Otherwise, the control panel may display an error message. With the power on, turn the knob and open the cartridge access door. The buggy also switches to zoom access. Make sure the color matches the solid symbol A slot in the mouthpiece every time you match the cartridge label.
Make sure the detached cartridge is connected to the carriage, and if so, have it repaired. If any cartridge does not move to its normal position or does not snap into place, remove it and restart. Then, carefully bend the tab away from this cartridge and, in particular, reinsert it into the carriage. Removing and reinstalling cartridges often solves this problem.
Other Important Steps To Resolve HP 5510 Laser Printer Cartridge Error
You can also clear the electrical contacts for the HP 5510 Printer Cartridge Error. Here are the steps you should always follow in this regard:
- Clean and run one cartridge at a time. Do not store the cartridge outdoors for more than half an hour.
- Get tampons, many of which are lint-free, that is, a sheet of paper to hold your fantastic cartridges.
- Return to the button and open the cartridge access door. The power cord can be completely disconnected and the tab on the front of the mouthpiece can be pressed For issuance. Then you can slide the cartridge out of the slot to remove it.
- Electrical contacts should be at the bottom and are usually copper colored. They check the contacts for debris and ink.
- Wipe them off with a cotton swab.
- Locate the multi-pin copper digital contacts in the slot.
- li>
- Wipe dry and place the cartridge upside down in the appropriate company slot.
- Close the door, plug in the printer power cord, and turn on the media button.
Bring the printer control panel and reporters to the menu button.Use the left and therefore right arrow keys to navigate to the Service setting and press Enter.Use the left and right arrow keys again, navigate to Restore Defaults, then press Enter.
You can try uninstalling or reinstalling the cartridges if this problem is damaged, or several to just clean the contacts. You can also restart the printer by unplugging the wall outlet and printer power cords. Wait a moment before reconnecting the two cables. Rotating the printer again may solve the immediate problem. You can also replace the cartridge incorrectly, as some experts recommend. Sometimes Original HP ink cartridges can cause errors.
Press the Power button () to turn on a specific product.When the product is turned on, disconnect the power cord from the product return terminal.Unplug the power cord from the outlet.The fastest way to do this is to wait 15 seconds.Plug the power cord back into the power outlet.Connect the power cord to the back of all products.
If everything else does not work as expected, contact your service center. Check outwith a warranty schedule and last visit to the service center. It will definitely help you find a viable solution if the steps above don’t work.
The software to fix your PC is just a click away - download it now.![]()
![]()
![]()
![]()
![]()
![]()
![]()
![]()
![]()
![]()