Table of Contents
Approved
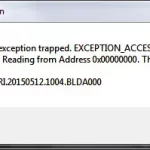
Here are a few simple methods that can help you resolve your Compaq Evo advanced BIOS access issue. power over the system. Press F10 when a certain blinking cursor appears in that upper right side of the screen. Select any task from the following menus: File, Security, or Advanced. To exit the BIOS, select the “File” menu.
Very tricky when you are in BIOS or when loading menus, and your computer won’t work.
As a computer idiot, I understand the pain that will fix some problems.
What should I do if the piano keyboard BIOS is not working?
If this keyboard does not work in BIOS, you can enable legacy USB support and disable fastboot option in BIOS with another keyboard or PS/2 keyboard. Sometimes it’s also useful to switch to a USB 2.0 port to change the boot order.
Keep visiting the page to learn more about specific solutions in detail.
Are you in a hurry? ? Check out my 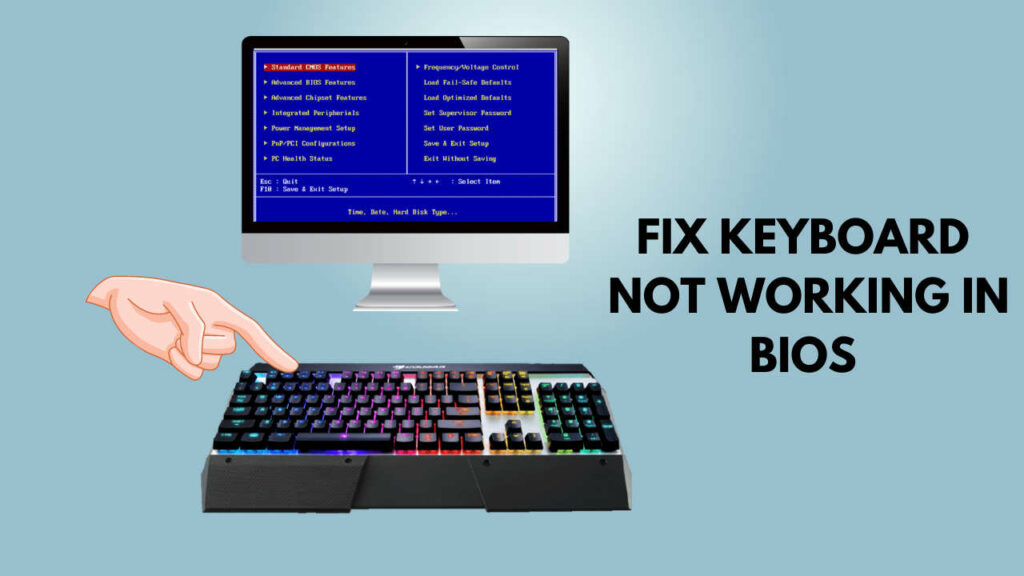
Also see our separate article What is BIOS in SVM mode here.
Before we see Actually r To answer this question, you need to understand how the computer boot process works.
When you truncate a computer, control must first go through the BIOS of the motherboard.Then it checks the boot archipelago and tries to load the templates one by one.
The first application with a valid bootloader and operating system is loaded. Check out Corsair’s best mouse for competitive gaming.
If your keyboard is not working in the start menu, this may be due to many reasons.Some of them are not necessarily initialized /recognized by keyboard drivers, uninitialized USB ports, golf clubs on the keyboard not supported by the BIOS, or certaina faulty USB port.
Approved
The ASR Pro repair tool is the solution for a Windows PC that's running slowly, has registry issues, or is infected with malware. This powerful and easy-to-use tool can quickly diagnose and fix your PC, increasing performance, optimizing memory, and improving security in the process. Don't suffer from a sluggish computer any longer - try ASR Pro today!

Luckily, you can change these things fairly quickly and in minutes. You just need to be patient and follow each step.
However, sometimes the problem can be caused by a faulty motherboard. In this case, you will have to throw away the motherboard.
Follow our guide to fix your BIOS keyboard freezing issue.
How Do I Enable The Keyboard ? In BIOS?
If the computer keys do not work in BIOS, perhaps the most common reason is that the keyboard is usually disabled in BIOS.
But what do you see behind this you need to boot through row of menus in the final BIOS. And for this you need another keyboard that works in the BIOS.
Quite ironic, right?
You can use an old PS/2 keyboard with generic drivers to boot through the BIOS. for navigation. These commands work by default on most motherboards, so they should not be a component. Also check out the Best Corsair Case for the Corsair build of your choice.
If you don’t have one, try the keyboard,that someone from USB 2.0 Town has, or start and have the maximum number of USB ports left on the motherboard (i.e. the main USB port).
Here are the steps to enable the keyboard in the BIOS:
1. Enable USB support
Built-in/Standard devices may not be enabled in the BIOS. So you need to allow it to use your keyboard /07/legacy-usb-support.jpg” srcset=”https://10scopes.com/wp-content/uploads/2021/07/legacy-usb-support.jpg 664w , https ://10scopes.com/wp-content/uploads/2021/07/legacy-usb-support-300×189.300w”>
View our JPG file Loading Motorboard without CMOS battery.
Press “F10” whenThe Compaq logo will appear on the screen. This will help the system boot into one of our BIOS setup modes. If that doesn’t work, press the “F1” key until the system boots directly into the BIOS.
Here are the general steps to enable USB support:
- Go to BIOS: Boot your computer Reboot your computer by going to BIOS.
- li>
- Go to built-in add-ons: Look for the option “Built-in add-ons” or “Standard Peripherals” It may be named differently depending on your main motherboard.to USB keyboard support/legacy support.
- Enable Legacy USB Support Once you find it, you will see your own USB keyboard support option.air tour. Whatever the name, it’s probably the same setting. Enable it.
- In general, save your changes and exit. Now connect the original keyboard after disconnecting the corresponding current keyboard and check if the device works in the BIOS.
Have some free time? Quickly learn the saga of how to fix CPU ADultator Not Detected in BIOS.
2. Disable Boot
Fast Boot Fast Boot is a setting found on almost all motherboards. Booting USB devices after the operating system is loaded, and not before the BIOS is loaded, is problematic.
As I said above, operating systems and individual users are loaded after the BIOS is loaded. Whether USB devices are loaded after the operating system, they are not available in the BIOS. Your
PC will restart and enter the BIOS. The fastboot option is often missing from the boot menu. So try to find. If you can’t find the superfast download option in the list of bootable products, check out the other menus.
Check out the easiest solution to combineGateway BIOS updates and.

Once you quickly find the workout option, disable it.
Save changes or turn off your computer. . Replace your current keyboard with your main keyboard and try to enter the BIOS.See if that worked.
Also see our confidential guide to detecting BIOS without USB.
3 .Clear CMOS
Clear CMOS will update the BIOS to a reset state read default settings.Here’s how to do it:
Shut down the computer below and unplug the possible cable.
Introduce yourself with our experts reviewing the best Aura Sync compatible SSDs.
Remove the side panel of your computer often to access the motherboard.
The software to fix your PC is just a click away - download it now.Turn on the machine again.Press the F11 key repeatedly while the host computer restarts. This will actually take you to the recovery screen.Click Advanced and then select Destructive Recovery. This procedure will appropriately erase your hard drive and restore it to a new state.
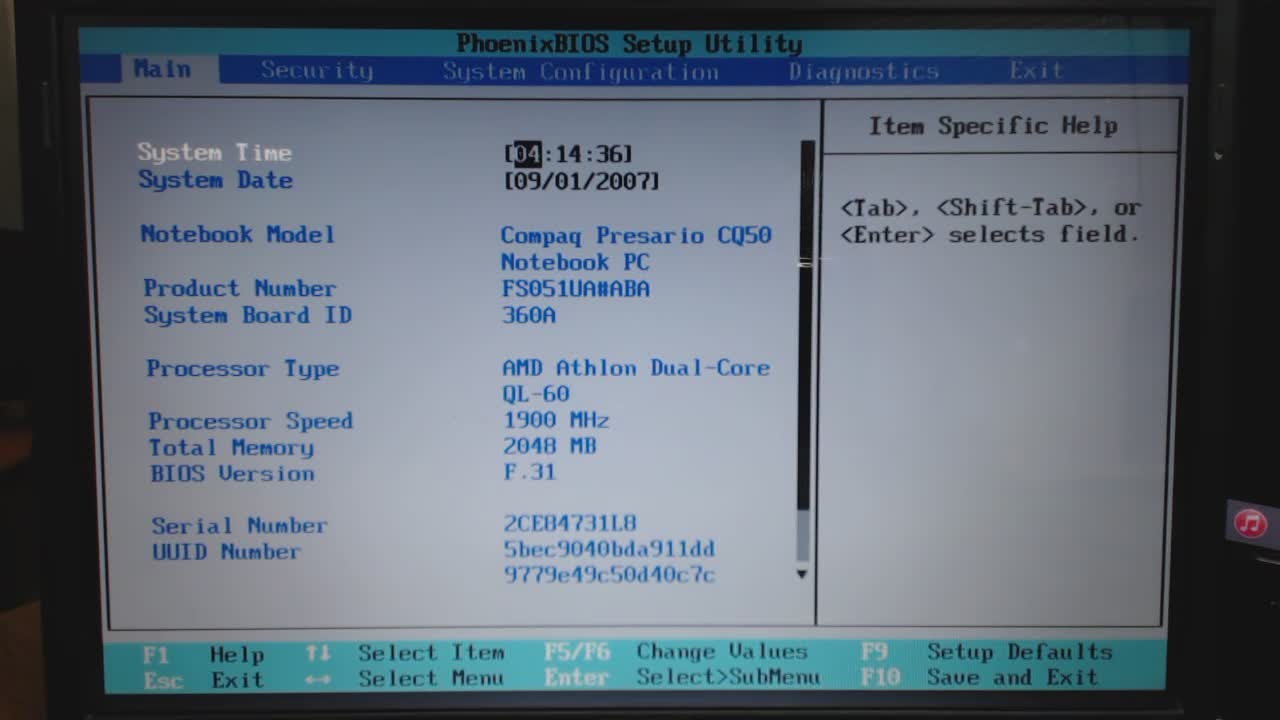
Turn on the computer and immediately press the Esc key several times until the boot menu starts. Press f10 to open the BIOS setup utility. Select Check Files, use the down arrow for system information, then click Go to find the BIOS version (version) and date.
To open the BIOS setup utility, turn the computer over and immediately press this F10 key several times about once per second until the BIOS setup utility screen appears.


Related posts: